How Bonbons Are Made

Day 1
Day 1 is for meticulous cleaning! The beautiful chocolate bonbon-making begins with cleaning the polycarbonate molds meticulously at least three times with cotton balls. This process is crucial in order to make a beautiful sheen for the bonbon surface.

Day 2
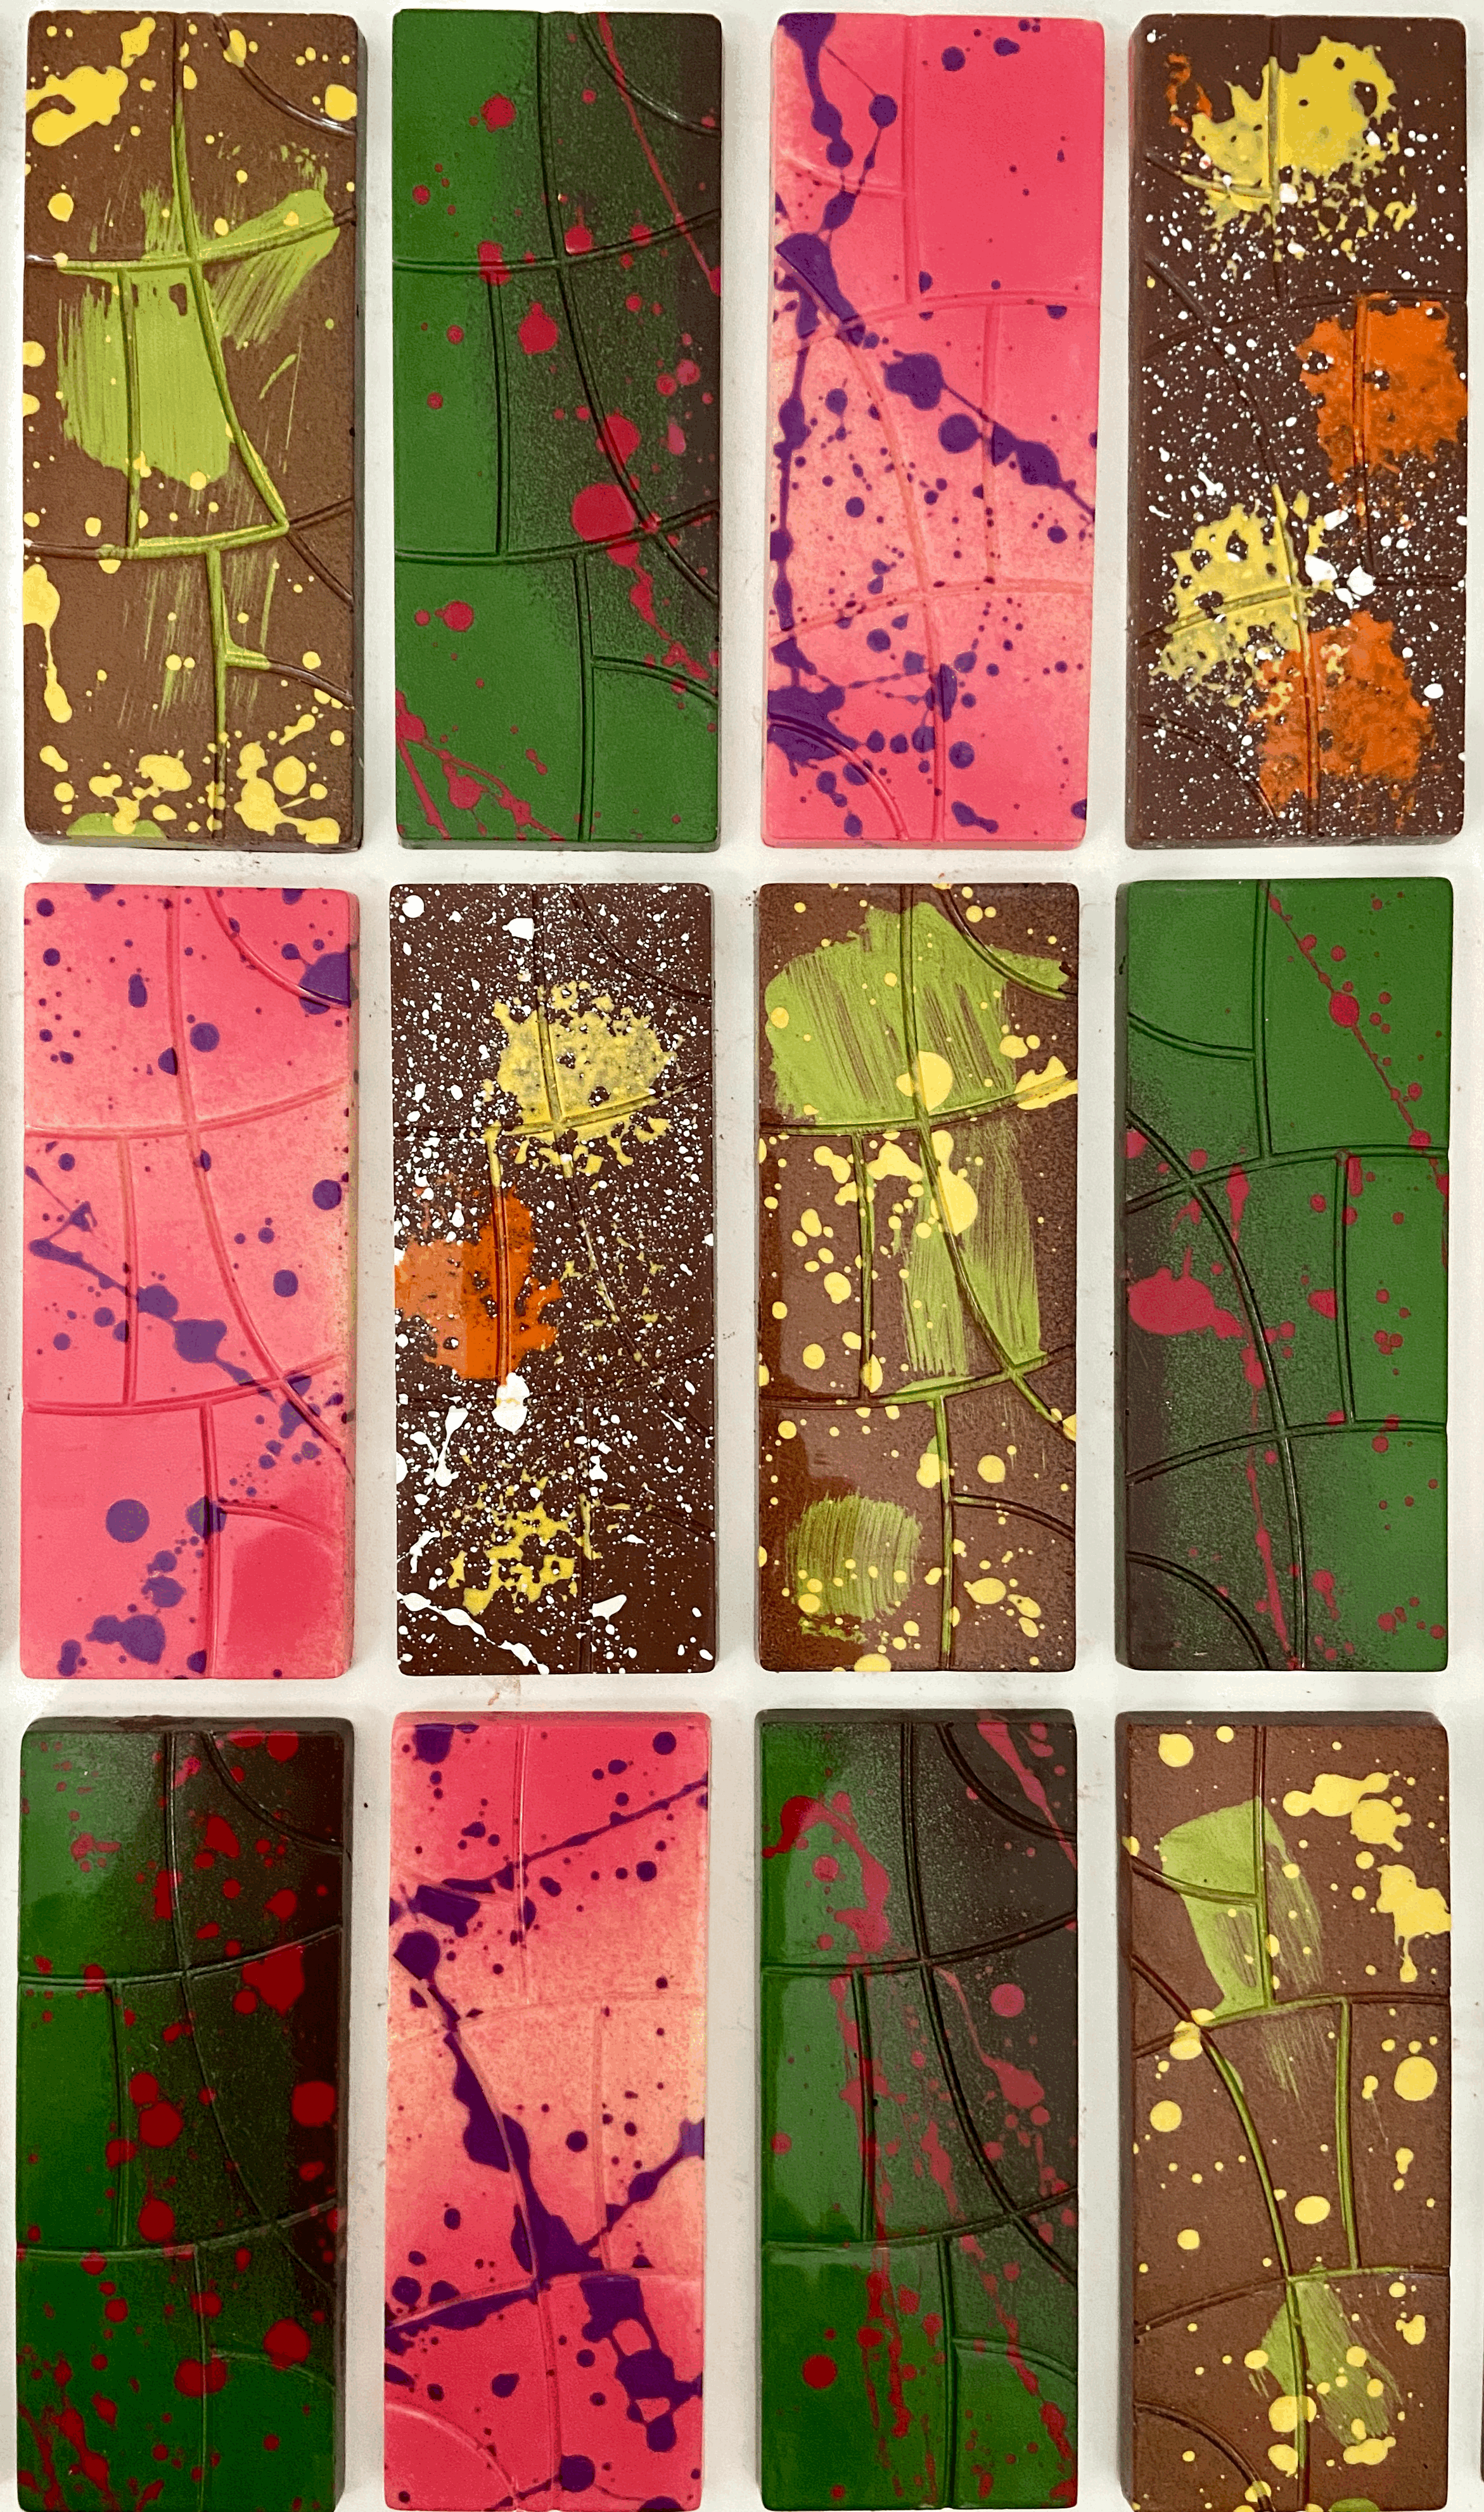
Day 2 is for painting! The artwork begins by tempering cocoa butter by use of the fingers, brushes, and spraying. The artwork has to be done at a rapid pace as the colored butter starts to crystallize quickly.

Day 3
Day 3 is for tempering and shell making. In order to have snap, shine, and long shelf life; chocolate requires proper tempering. Tempering chocolate involves a cycle of temperature (heating, cooling, resting) to align through temperature agitation. After well tempred chocolate is prepared, the shell-making begins. The photo shows releasing the chocolate inside of the mold by tapping.

Day 4
Day 4 is ganache making and filling. In order to make a beautiful ganache, it requires a perfect emulsion (homogeneous combination of two ingredients, which normally do not mix). Most ganache making is done with fat-in-water emulsion. The ganache requires 24 hours of crystallization.

Day 5
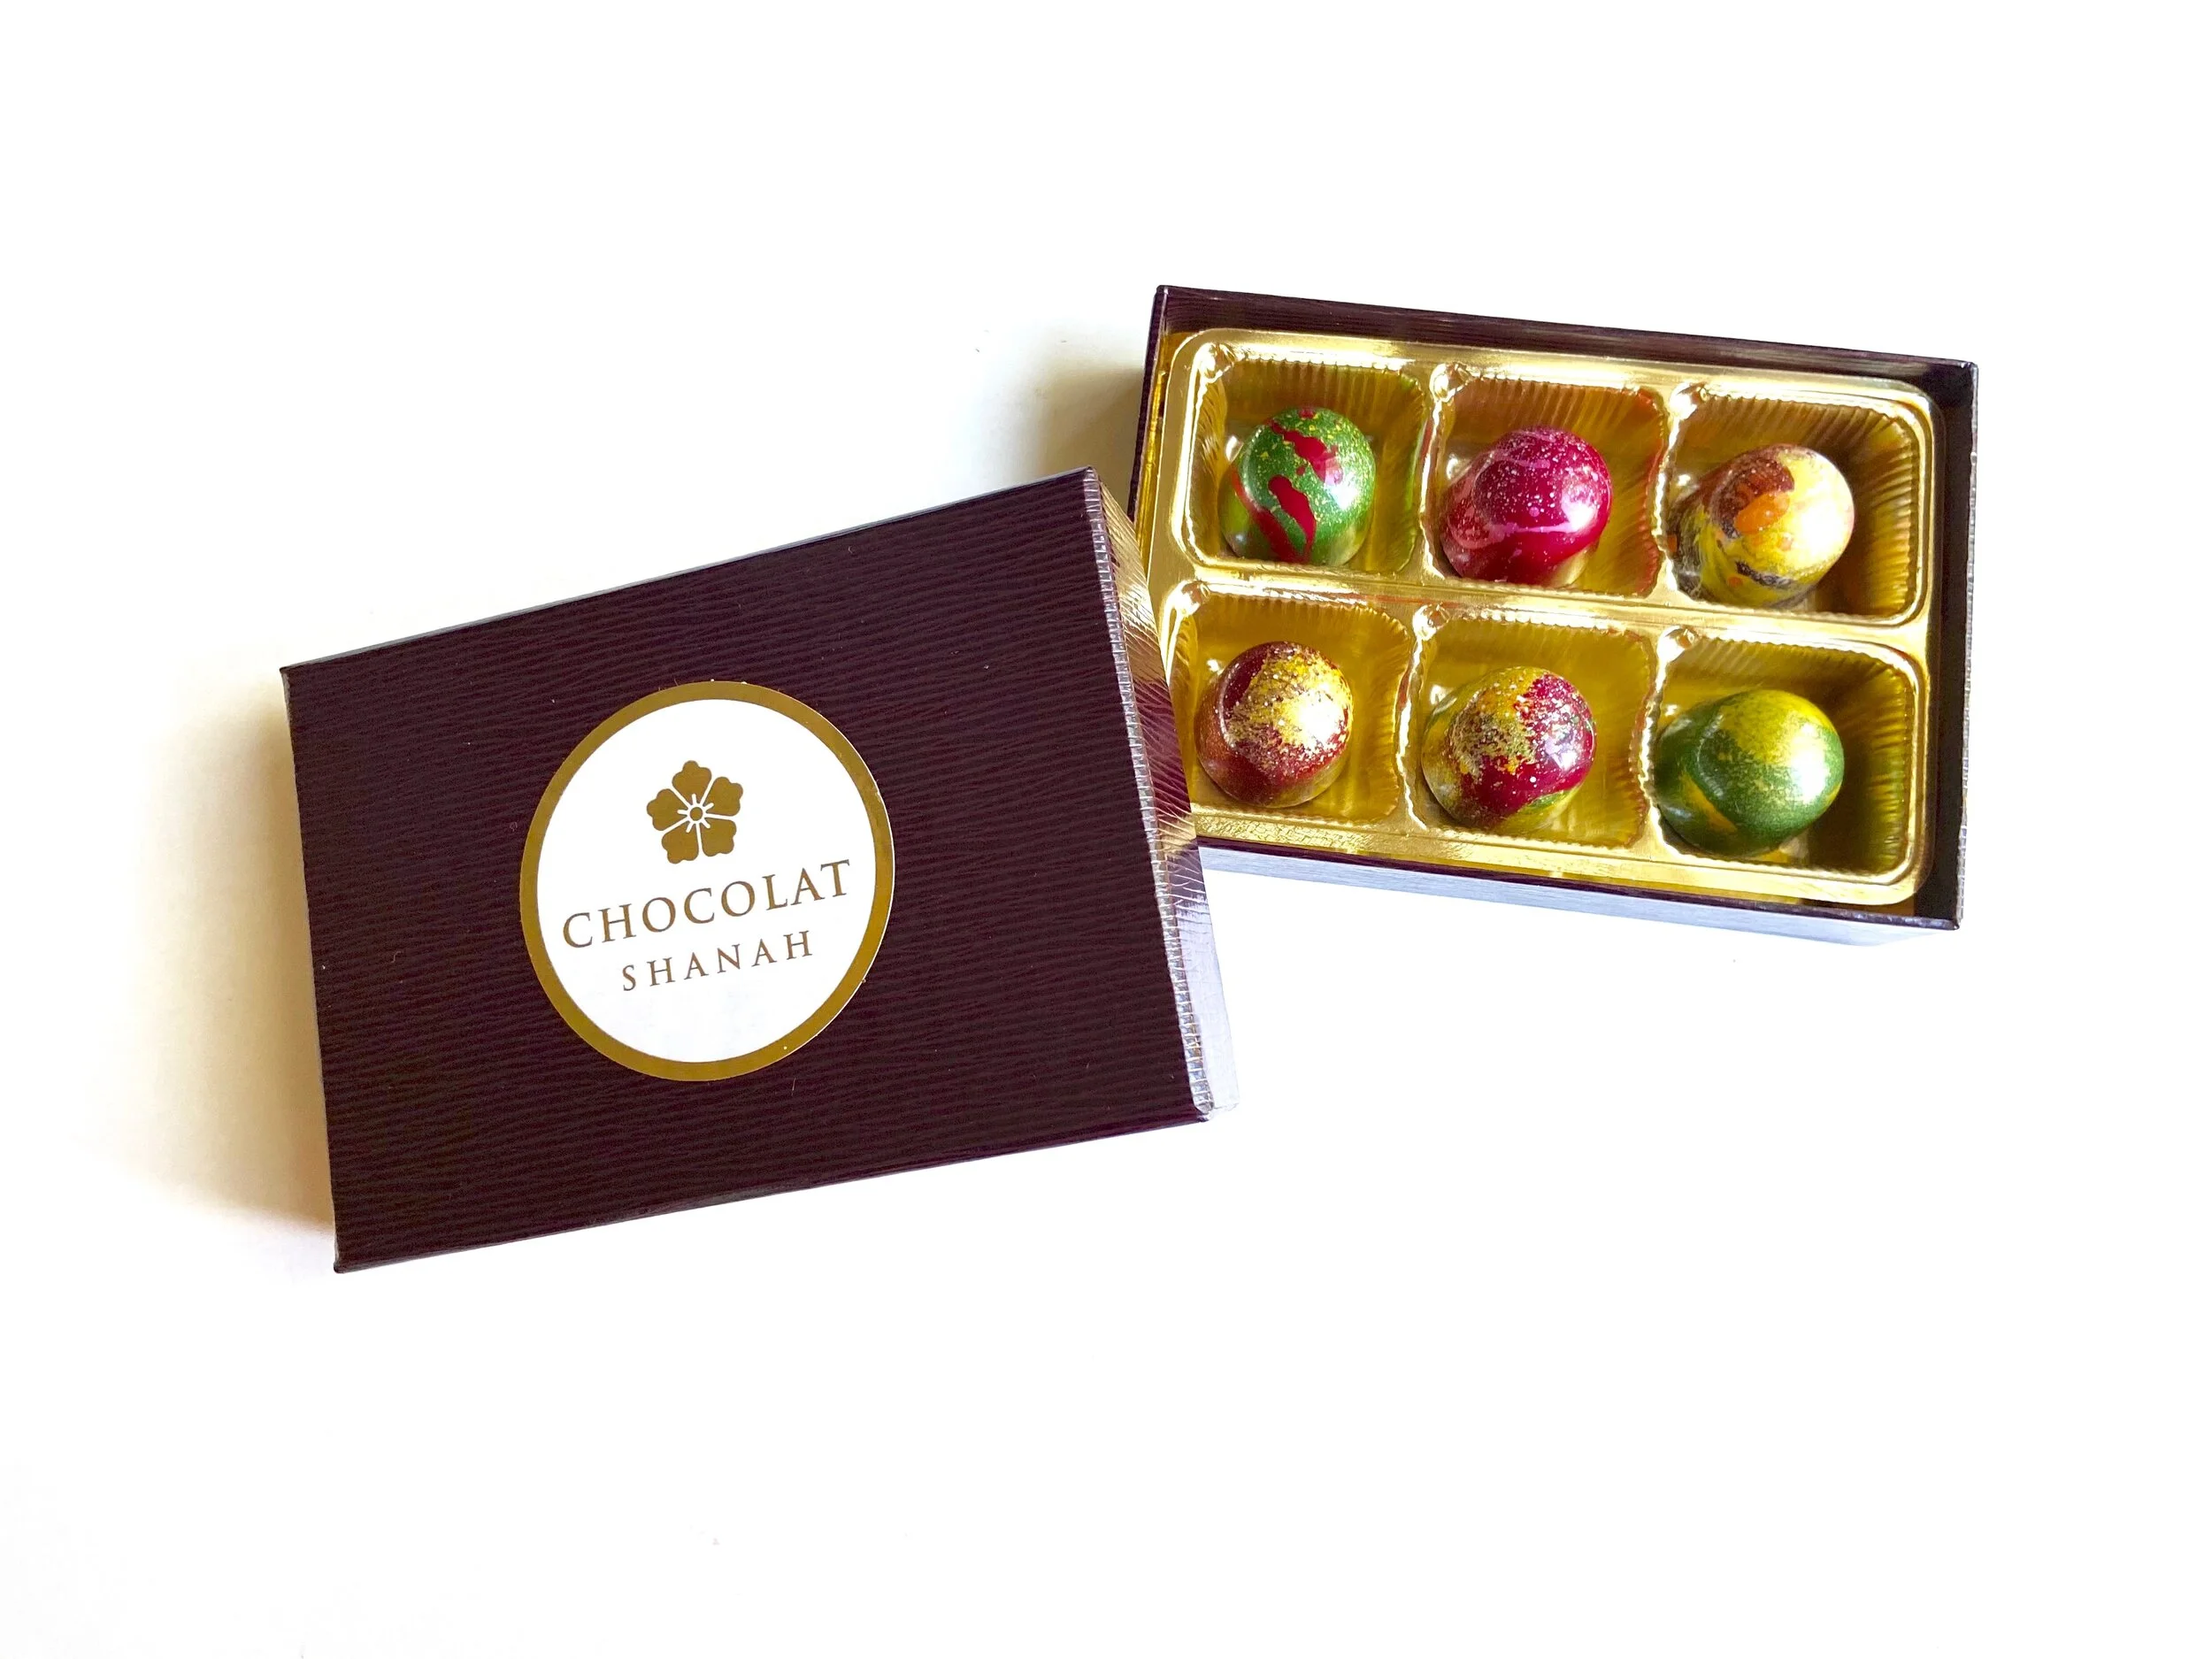
Day 5 is for capping and releasing. Capping simply means sealing the bottom of the bonbons with tempered chocolate. After capping is set, all bonbons are released from the molds.